There's an undeniable magic to the deep crimson hue and distinctive flavor profile of red velvet. While the grand red velvet cake often takes center stage, its portable, bite-sized cousin – the mastering red velvet cookie – holds a special place in the hearts of dessert lovers. These aren't just any cookies; they embody all the beloved characteristics of red velvet cake in a convenient, irresistible form. Imagine crispy edges giving way to a wonderfully soft, chewy center, each bite bursting with subtle cocoa, vanilla, and the luscious creaminess of white chocolate. What makes our recipe truly stand out is its commitment to delivering authentic red velvet flavor without the common hurdle of buttermilk, all while being incredibly quick to prepare. Get ready to discover your new favorite way to experience the magic of quick red velvet cookies.
The Irresistible Charm of Red Velvet Cookies
For many, the mention of red velvet conjures up cherished memories of celebrations, elegant gatherings, and those moments when only a truly decadent treat will suffice. It's more than just a dessert; it's an experience. The vibrant color, the delicate balance of sweetness with a hint of tang, and the distinct aroma of cocoa and vanilla create a symphony for the senses. While a slice of red velvet cake is undoubtedly magnificent, there's a unique appeal to a perfectly baked red velvet cookie.
These cookies offer all the complexity and allure of their cake counterpart but in a much more accessible package. They're perfect for sharing, ideal for a quick pick-me-up, or excellent for last-minute entertaining. The challenge often lies in capturing that signature essence – a vivid color that doesn't feel artificial, a flavor that's nuanced rather than overwhelming, and a texture that's utterly delightful. Our recipe rises to this challenge, ensuring each cookie delivers that "wow" factor with every single bite. It’s about creating a treat that isn't just delicious, but also a feast for the eyes.
Mastering the Buttermilk-Free Secret: Authentic Flavor Without the Fuss
Traditionally, buttermilk is a cornerstone of red velvet recipes. Its acidity plays a crucial role in tenderizing the crumb, reacting with cocoa to enhance the reddish hue, and contributing to that signature subtle tang. However, let's be honest: how often do you have buttermilk readily available in your fridge? For many home bakers, a quick dessert craving can be dampened by the need to make an extra trip to the store for a single ingredient. This is precisely where our buttermilk-free red velvet cookies recipe shines.
We've meticulously crafted a method that sidesteps the need for buttermilk entirely, yet still delivers that unmistakable authentic red velvet flavor. How do we achieve this? By strategically balancing other acidic components within the dough and relying on high-quality cocoa powder and vanilla extract to build a robust flavor foundation. The result is a cookie that boasts incredible tenderness and that characteristic subtle tang, proving that you don't need to compromise on flavor or texture for convenience. This innovation makes these cookies perfect for spontaneous baking sessions, ensuring that you can satisfy your red velvet craving whenever it strikes, without any fuss or pre-planning.
The Perfect Pairing: White Chocolate & Red Velvet Cookies
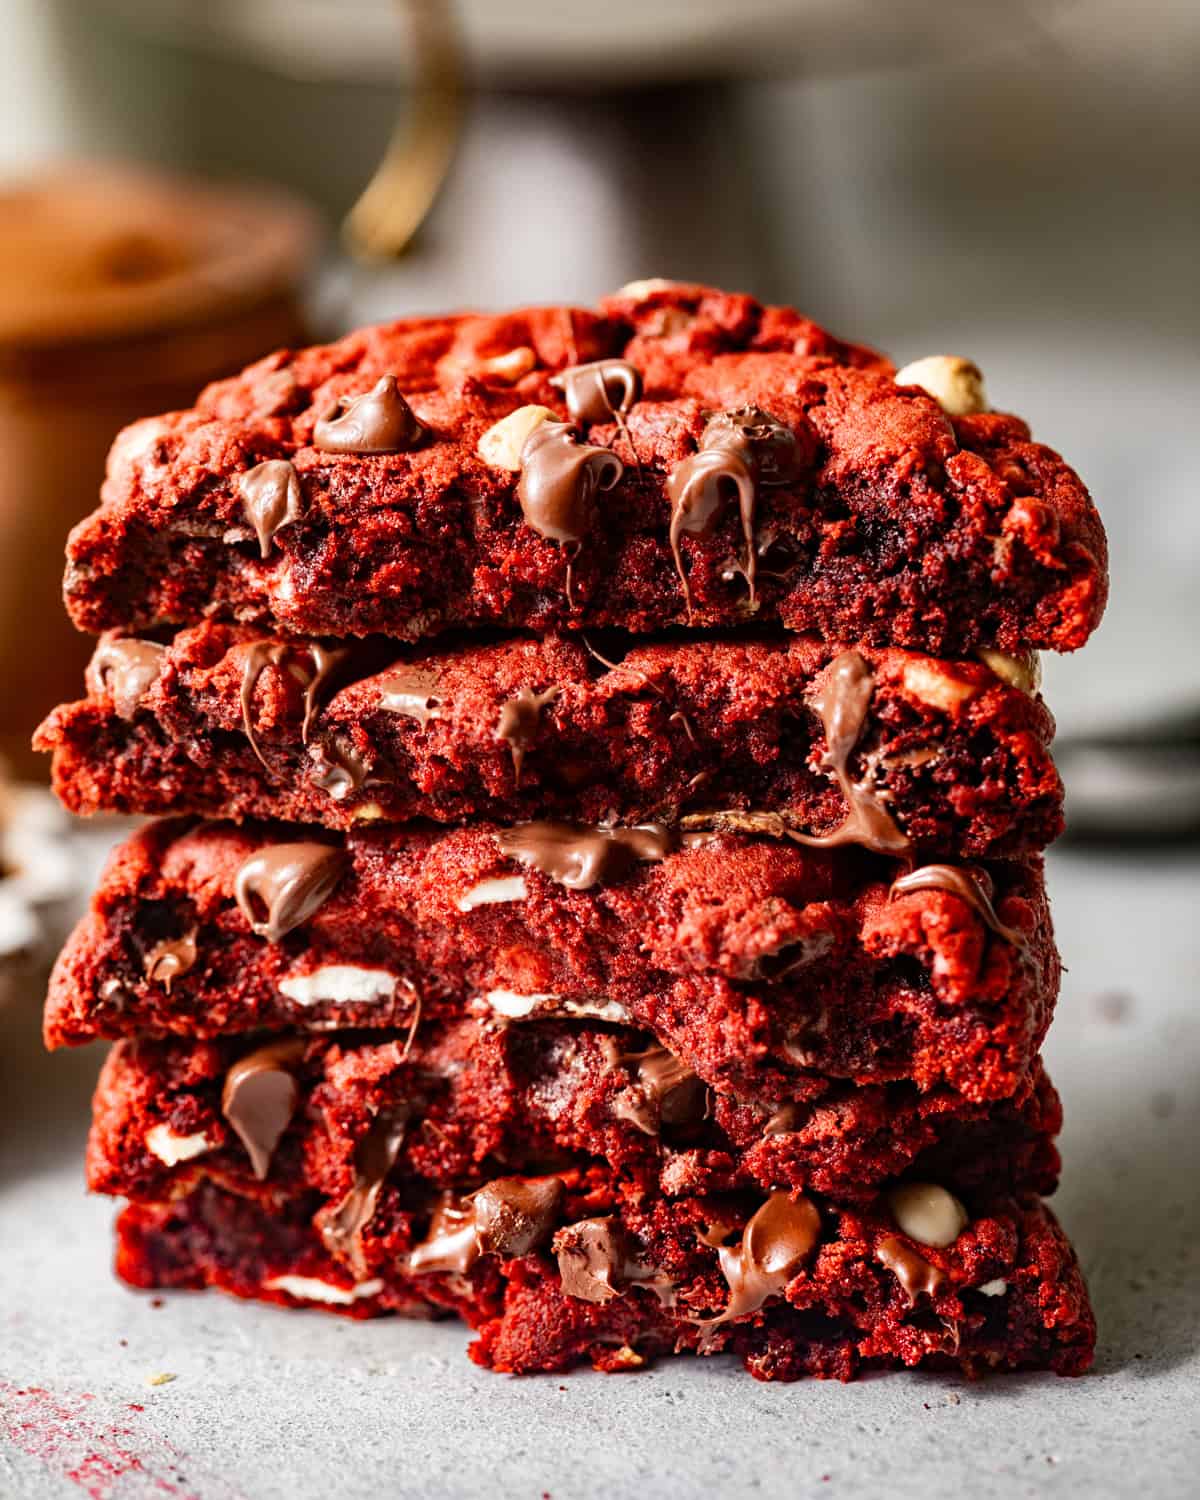
While the red velvet base is spectacular on its own, the addition of white chocolate chips elevates these red velvet cookies to an entirely new level. It's a culinary match made in heaven. The creamy sweetness of white chocolate provides a beautiful counterpoint to the subtle cocoa and slight tang of the red velvet dough. As the cookies bake, the white chocolate chips melt slightly, creating delightful pockets of gooey, rich sweetness throughout each cookie.
Here’s why this pairing works so well:
- Flavor Harmony: White chocolate, with its vanilla-like notes and creamy texture, complements the cocoa and vanilla in the red velvet, creating a balanced and luxurious flavor profile.
- Textural Contrast: Beyond flavor, the melted white chocolate adds another layer of texture, contributing to the overall chewiness and richness of the cookie.
- Visual Appeal: The stark contrast between the vibrant red and the creamy white is visually stunning, making these cookies even more inviting.
When incorporating white chocolate, opt for good quality chips or even chop up a white chocolate bar for varied sizes and an even more artisanal feel. Don't be shy with the quantity; generous amounts ensure that every bite offers that delightful burst of creamy chocolate. While white chocolate is our top recommendation, you could also experiment with milk chocolate or even a swirl of cream cheese frosting post-bake for another layer of classic red velvet decadence.
From Bowl to Bake in Under 30 Minutes: Your Quick Red Velvet Fix
Life is busy, and sometimes, you just can't wait for a dessert that demands hours of preparation or endless chilling time. This is where our recipe truly shines as the ultimate quick red velvet cookies solution. From the moment you start mixing to the second they come out of the oven, these delightful treats are ready in an impressive 25 minutes – often under 30 minutes start to finish. Yes, you read that right: no chilling required!
The beauty of this recipe lies in its efficiency. You can whip up the dough, scoop it onto baking sheets, and pop them straight into the oven. This makes them absolutely perfect for those sudden dessert cravings, unexpected guests, or simply when you want to enjoy a homemade treat without the commitment of a lengthy baking project. The key to achieving their incredible texture – crispy edges with a wonderfully soft, chewy center – is precise baking. Keep a close eye on them; do not overbake. They should look slightly underdone in the center when you pull them from the oven, as they will continue to set as they cool. This commitment to speed and simplicity, without sacrificing an ounce of flavor or quality, truly sets these easy red velvet cookies apart.
Tips for Achieving "Wow Factor" Red Velvet Cookies Every Time
Crafting perfect red velvet cookies goes beyond just following a recipe; it involves understanding a few key principles that elevate them from good to truly spectacular. Here are some actionable tips to ensure your cookies consistently deliver that "wow" factor:
- Quality Ingredients Matter: Start with high-quality ingredients. Use a good unsweetened cocoa powder for depth of flavor (Dutch-processed or natural, depending on your recipe's leavening), a pure vanilla extract, and reliable food coloring for that vibrant crimson hue. Gel food coloring typically provides a more intense color with less liquid, preventing textural changes.
- Precise Measuring: Baking is a science. Use a kitchen scale for flour and other dry ingredients if possible for the most accurate results. Too much flour can lead to dry, crumbly cookies, while too little can make them spread excessively.
- Don't Overmix: Once you add the dry ingredients to the wet, mix just until combined. Overmixing develops the gluten, leading to tougher cookies. A few streaks of flour are fine; they'll disappear during baking.
- Perfect Baking Time is Key: As mentioned, knowing when to pull them from the oven is crucial. For that desirable soft, chewy center, bake until the edges are just set and lightly golden, but the centers still look slightly soft or puffy. They will firm up as they cool on the baking sheet for a few minutes before transferring to a wire rack.
- Room Temperature Ingredients: Ensure butter and eggs are at room temperature. This allows them to cream together more effectively, creating a smoother dough and a more uniform texture in the final cookie.
- Cooling is Crucial: Allow the cookies to cool on the baking sheet for 5-10 minutes before transferring them to a wire rack. This allows them to set fully and prevents them from breaking apart.
- Storage Savvy: Store your baked cookies in an airtight container at room temperature to maintain their softness and freshness for several days. If you manage to have any leftovers, that is!
By keeping these simple tips in mind, you're not just baking cookies; you're mastering the art of creating truly exceptional authentic red velvet cookies that will impress everyone who tries them.
There's no need to wait for a special occasion or commit to a lengthy baking project to enjoy the luxurious taste of red velvet. Our buttermilk-free, white chocolate-studded red velvet cookies offer a quick, convenient, and utterly delicious solution. With their vibrant color, irresistible soft and chewy texture, and balanced flavor profile, they deliver all the beloved qualities of red velvet cake in a perfectly portable form. Say goodbye to last-minute store runs for buttermilk and hello to a fuss-free, incredibly satisfying dessert that can be ready in under 30 minutes. So, preheat your oven and prepare to fall in love with these spectacular cookies – they're sure to become a cherished addition to your baking repertoire!
